Thursday 27 June 2013

Suspension thoughts part 2

As mentioned, the suspension wishbones are going to be all new, mainly to preserve the longer wishbones at the back. So, armed with the Haynes manual, the Saturn modifications and some clever Google searching, I came up with this;

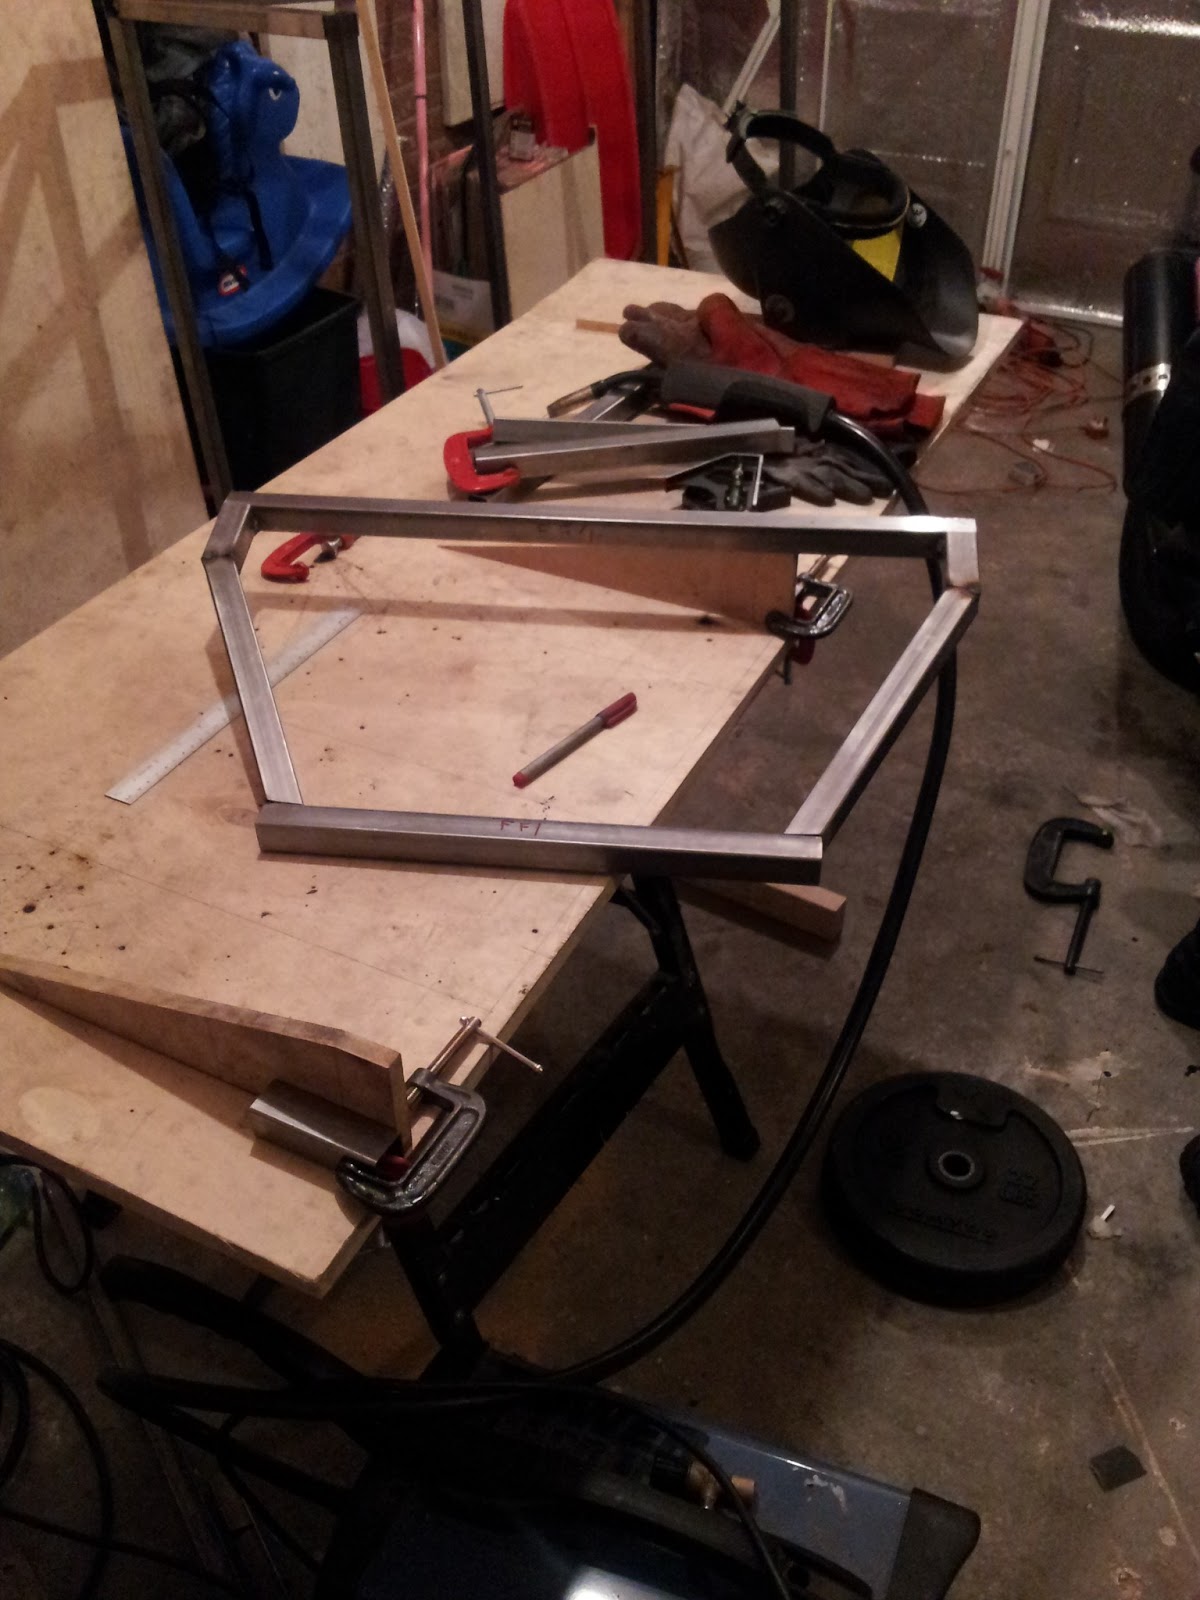
First stage, front wishbones. Looks like Saturn use the same mounting points for the wishbones top and bottom. The front upper and front lower jigs have length dimensions, and the width dimensions are dictated by the brackets and the upright fixings. So I'm happy I have everything I need there.

Rear wishbones. Now these are going to be fun! So as far as I can tell, the Saturn plans don't contain length dimensions for the wishbones, so they're no help. The Haynes plans do contain dimensions but for Sierra based uprights. So a bit of creative thinking is needed. The lower wishbones are quoted to be very similar to the Haynes wishbones,which are 381mm (centre to centre). The wishbones brackets on the chassis are 265.5mm from the centre line. That means the lower outer fixing for the upright is 646.5mm from the centre of the car. I think that is a good starting point, which means I need to make the new wishbone the same dimensions as the Haynes wishbone, but with the layout the same as the Saturn wishbone.

Here is a picture of a rear upright from a mark 1 MX5;

Unfortunately it's from a US site so everything is in inches. Converting to the metric system, the top measurement is 149.225 mm and the bottom is 114.3 mm. In basic terms, it means on the upright side, the top wishbone has got to end approximately 35 mm shorter than the bottom wishbone.

So, back to the Haynes manual. The bottom wishbone mounting point is 265.5 mm from the centre line. The upper wishbone mounting point is 301 mm. So on the chassis side, the top wishbone has got to be 35.5 mm shorter than the bottom wishbone.

This means that the top wishbone has to be overall 70.5mm shorter than the bottom wishbone. With the bottom one being 381mm, that means that the top one needs to be 310.5 mm long. That is 50mm longer than the original Haynes wishbone, but probably double the length of the Saturn wishbone.

Of course, there is the added complication of the rear driveshafts. I already know I need to alter the propshaft, I didn't want to have to adjust the rear driveshafts as well. Maybe I ought to wait for my donor...

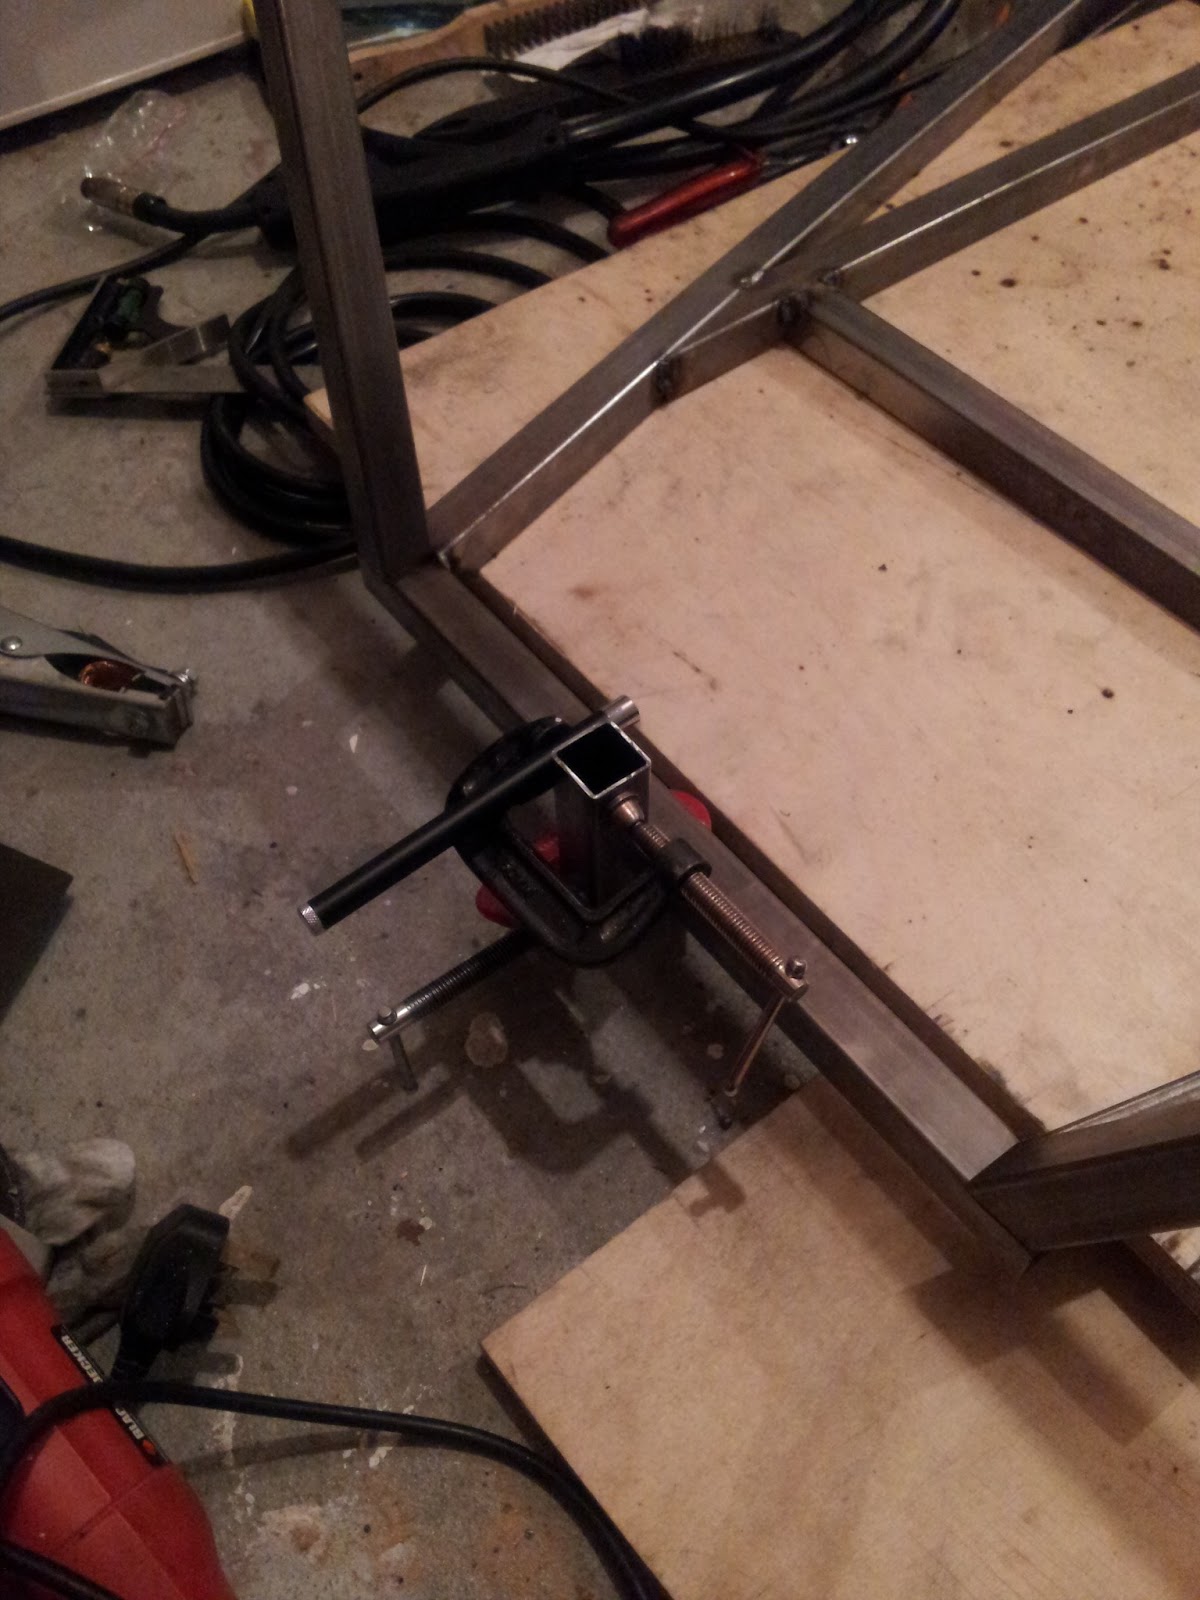
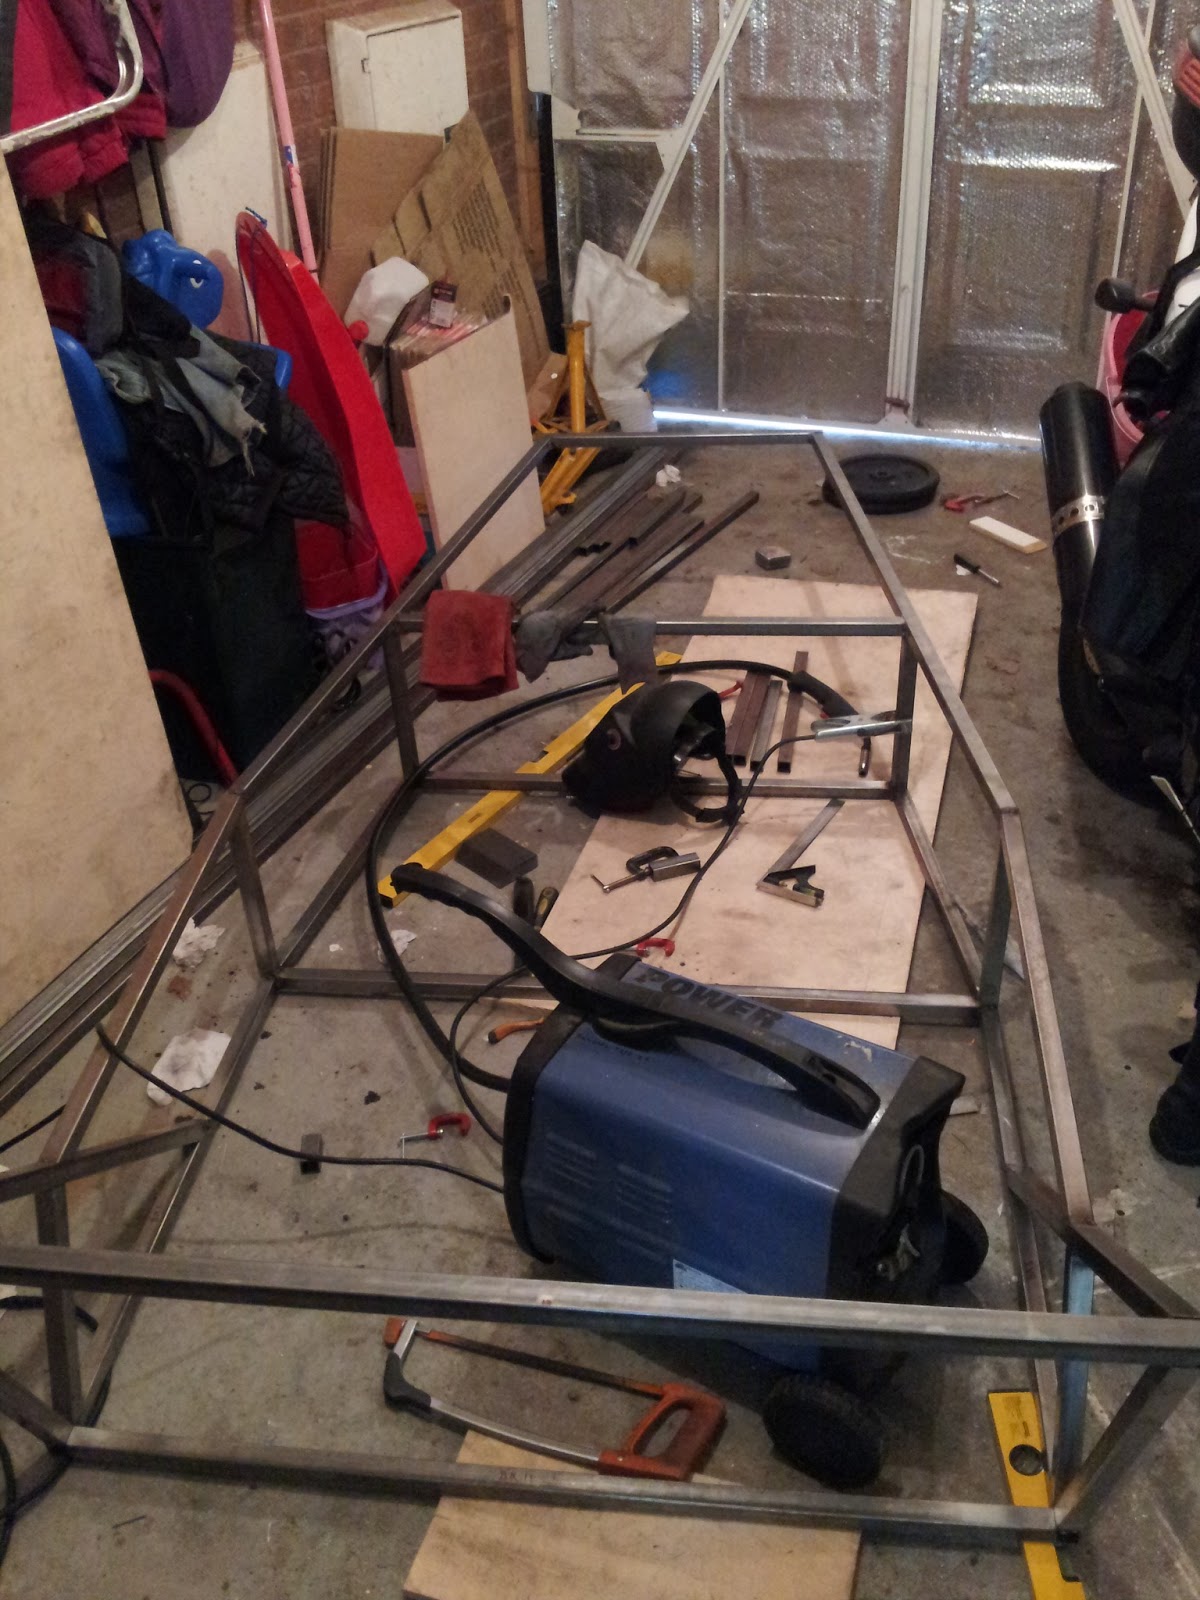
The suspension brackets have now arrived, so I can at least get them fitted. Although I still have the whole rear suspension area to fit... and the diagonal bracing... and fully weld the chassis... and do the aussie mods... I'm glad I'm treating this as a fun hobby rather than a career!

Sunday 23 June 2013

Laser alignment

The lack of a build table has worried me from day one. Not enough to sell my motorbike (the chief use of my garage space) but still something I need to sort out. But then I wondered whether there was a way of properly measuring the base. So with the help of an Ebay-special laser pen, I set something up.

First step, mount the laser;

This is a bit of metal clamped to the front bar, then the laser pen is clamped to the metal. This lifts the laser pen about 50mm off the front bar, and allows me to adjust the pen up and down. It also holds the 'on' button down. I used a combination set square to determine the height;


Then used a bit of red tape to mark the laser. I then moved it to the furthest point, and adjusted the laser until the measurement was the same;


A quick double check that the nearest one was still ok, and I was set. I then used the same measurement on all the other bars to confirm that they were the same height;


And they were! The laser itself wasn't perfect, but focusing on the centre of the laser got me at least to the nearest millimetre.

The next job is to determine whether there is any twist in the chassis. For that I'll use the same technique, but use a lens to spread the laser across a plane rather than just a point.


Saturday 22 June 2013

Suspension thoughts

Now that the chassis is actually taking the (sort of) form of a car, it's time to start looking at suspension. So first part was the brackets and the bushes.

The brackets are on their way from Dave at Rogue Engineering, £1.50 per bracket and money for shipping. I did look into possibly making my own (no method of bending unfortunately), or even buying some hollow section steel and cutting a face off, but it would have been a lot more effort for not a lot of saving, so £42 total price for the brackets was the way I went.

Bushes were much easier, another Ebay search revealed a set of 22 crush tubes and 44 bush top hats for £50. Again, as with the brackets, I did look into DIY cheaper options, but the effort and accuracy made this purchase a much better option.

So, on to the suspension wishbones. These are definitely a DIY job, for example Talon Motorsport asks for £300 for a full set of wishbones and I was hoping to build most of the chassis for that! There is also an additional problem...

The Haynes Roadster measurements are based on a Sierra donor, and I don't want that. I decided early on to use a Mazda MX5 as that was a proven alternative with only a few subtle mods. For example, the front wishbones are virtually identical to the Sierra versions, with the main difference being the top ball joint having to be sourced elsewhere. That shouldn't be too difficult, it's either a 3 series BMW ball joint (which one is TBC), or ream out the Mazda upright to suit the Transit van ball joint from the original book. No problem for either of those.

The main problem is the rear suspension. The Mazda alternative is based on the huuuge rear diff cover that the Mazda uses, but it results in the upper wishbones being a significant compromise. And basically, I don't like them. What I'm going for is a replacement diff cover from Talon Motorsport, that fits more like the Sierra diff and allows for 'normal' wishbones and a more standard back end to the chassis. It does appear that I'll be treading new ground though, so I need to do some calculations on how long the wishbones need to be in order to use the Mazda uprights but the 'Sierra' wishbones. Not a huge problem, but it's a task that will need to be completed before I build the wishbones.

I'll also need to understand how Talons diff cover is put together, there are mounting holes but they don't line up with any existing design so that'll be another custom task to do.

More chassis

Nothing really new here, just more progress shots;


Still looking ok despite not having a solid base to work off. The front end frame sits perfectly without needing to clamp in place, and I only have to cope with a tiny bit of weld induced warping. Before I start adding triangulation I'll use a laser pointer to confirm the base is perfectly in line. More on that later.


Tuesday 18 June 2013

Space invaders

Courtesy of a Facebook friend, this section is entitled 'space invaders'. All will become apparent with these pictures;


This is actually the build of the bottom section of the engine bay, but I do suspect that if I lined up lots of them in a row, I would have to fight the urge to hide behind a brick wall and throw single rocks at them...


Monday 17 June 2013

Front of the chassis

Now here is where the problems started. Remember the wooden model I'd made earlier? This is where it went a bit wrong. Turns out the Haynes roadster book has some errors, some of which I knew about but didn't realise I'd come across one so early in the build. I cut the metal, then found the uprights of the front section were way too short! They went into the spare metal bin...

The reason why the wooden model worked fine was simple. The Haynes measurement shows an overall measurement for the bent metal, and measurements for the two halves. The overall measurement was the wrong one, but because wood doesn't bend I'd used the two half measurements. So the model worked out fine, but the real one failed.

While I was having a little rant on locostbuilders, a considerate builder posted some further details on how to build the front, not only to compensate for the measurements being wrong but to save future problems with the suspension mounts. So instead of the two uprights being partly cut and bent, they were completely cut and welded with a 'twist' in. The twist was measured against the jib so that when the front is welded in place, the vertical pieces are perfectly in line with the other uprights for the suspension.

In short, this is what I ended up with;


Very happy with this now it's finished (and the uprights are long enough!).

At the same time, I picked up my welding gas;
OK, not a very exciting picture, but I couldn't resist! I've also ordered a side mounting argon valve from weldequip, as soon as that arrives I'll get things plugged up.

Sunday 9 June 2013

Next stage of the chassis


Just a quick post for this one, more of the same for the chassis;
My garage doesn't actually have enough room to build the full wooden base for the frame, I know it's going to bite me at some point but so far it seems ok. 

Gasless MIG welding is horrible by the way, it was at this point I started to look at some gas. A quick check on Ebay found me an Adams gas supplier in Telford. £55 returnable deposit on the bottle and £30 for the argon mix gas should work quite well.