Saturday 25 July 2020

Main loom cleanup

Just one more loom to sort now, the main loom. I had a thought about this one. I do still want to strip it down to simplify it, but I'm on dangerous ground with what can be removed. So I'm going to keep things simple. First stage is to strip the wires from the two sides of the engine bay. There are two 'ends' to the loom, one goes through a grommet into the engine bay and runs down the passenger side. There is an equivalent down the drivers side.

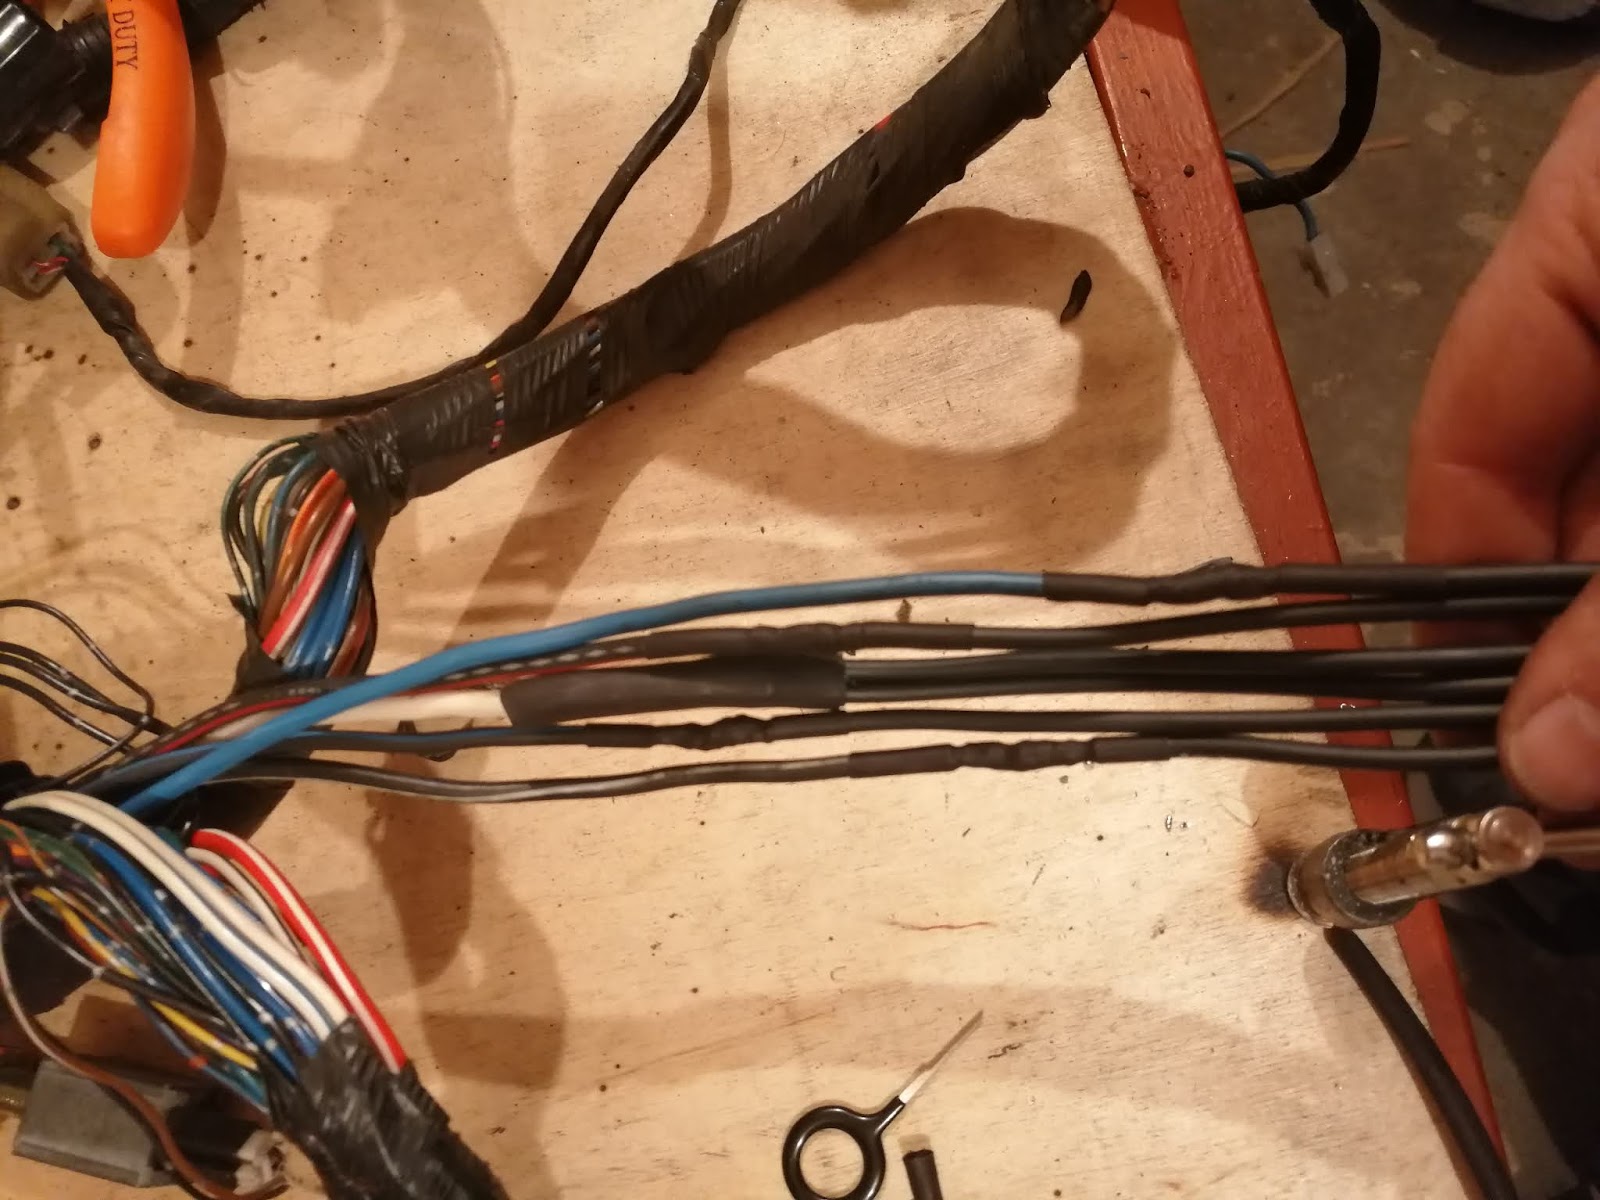
Both sets of wires cover two jobs. They both deal with the front lights and some engine connections. What I'm thinking of doing is splitting both sides into their light and engine sets, so there will be four sets of wires in total. I can then trim down the lights that aren't needed, but keep the sensor wiring 100% intact. 

This will give me more freedom in terms of where the lights are in relation to the engine, as well as potentially giving me a chance to tidy up the engine bay. 

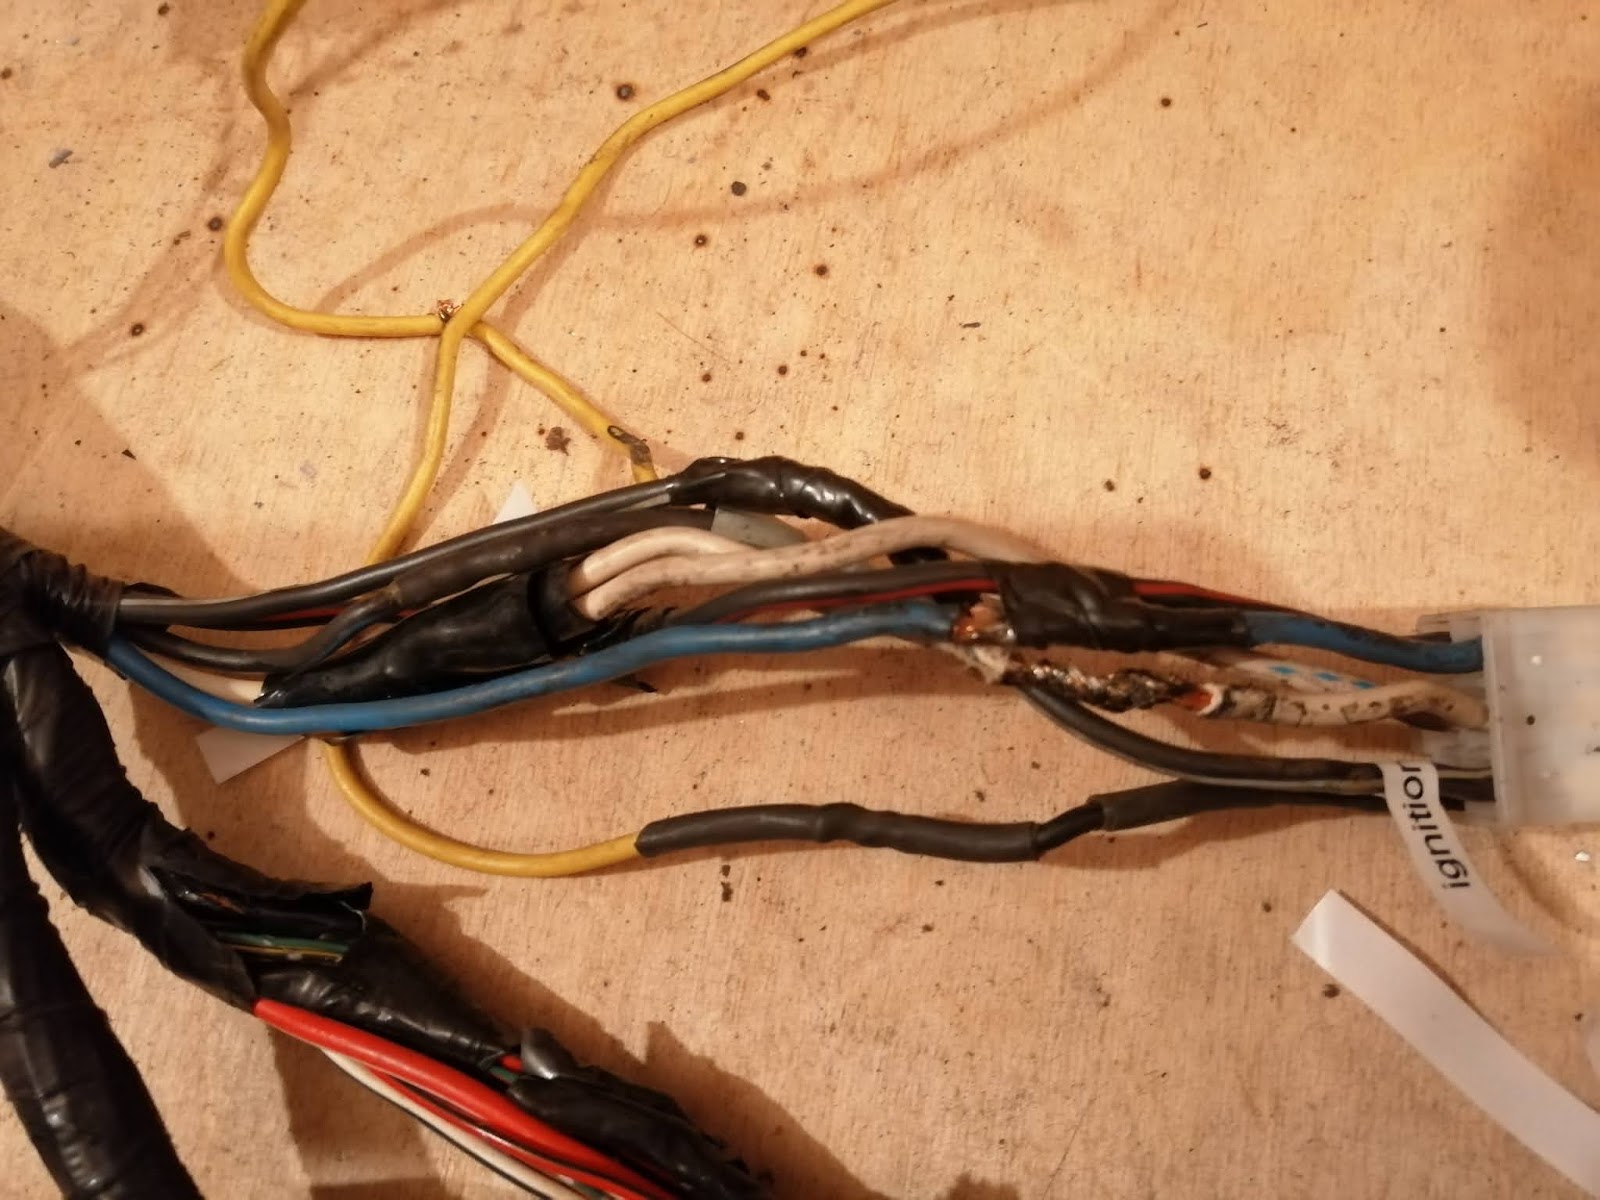
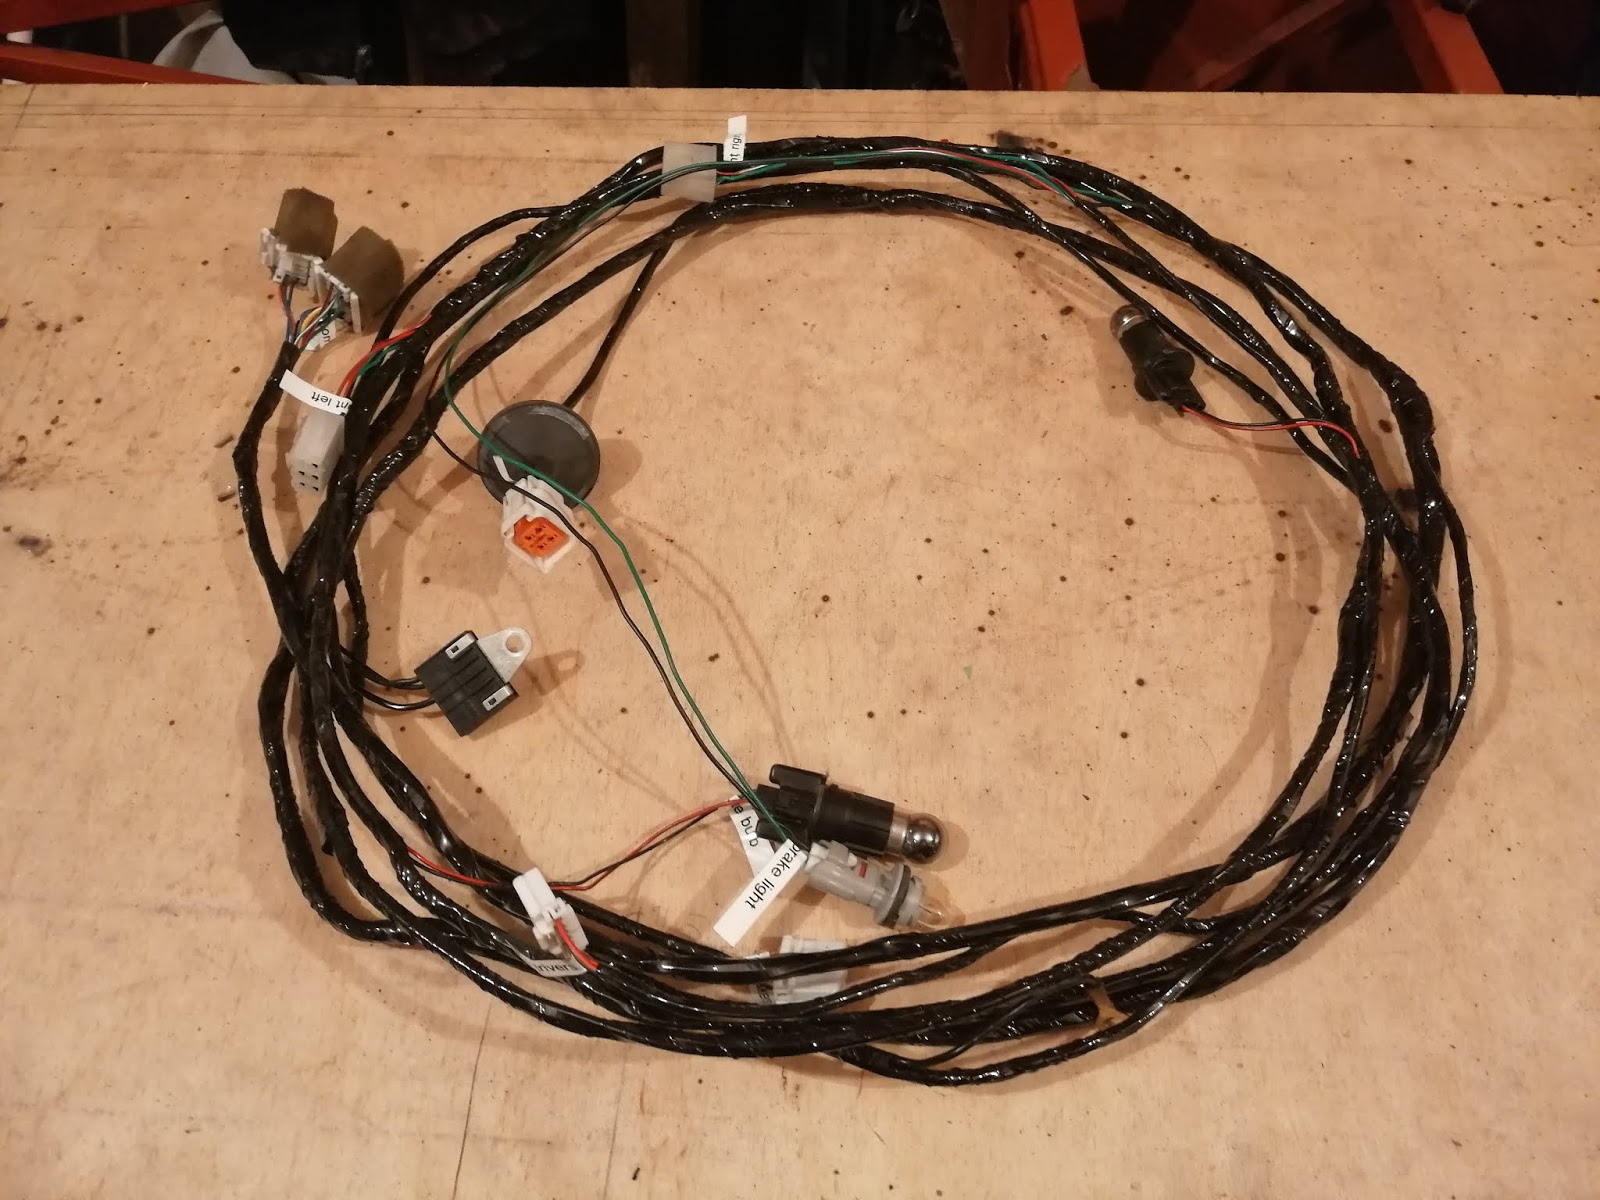
There is one thing I need to find out though. The main loom has connections to the dashboard loom, but there is also another connector at the other end of the dashboard loom that I never managed to figure out. Oddly enough, there is a corresponding connector on the main loom as well. Here is the main loom connectors;


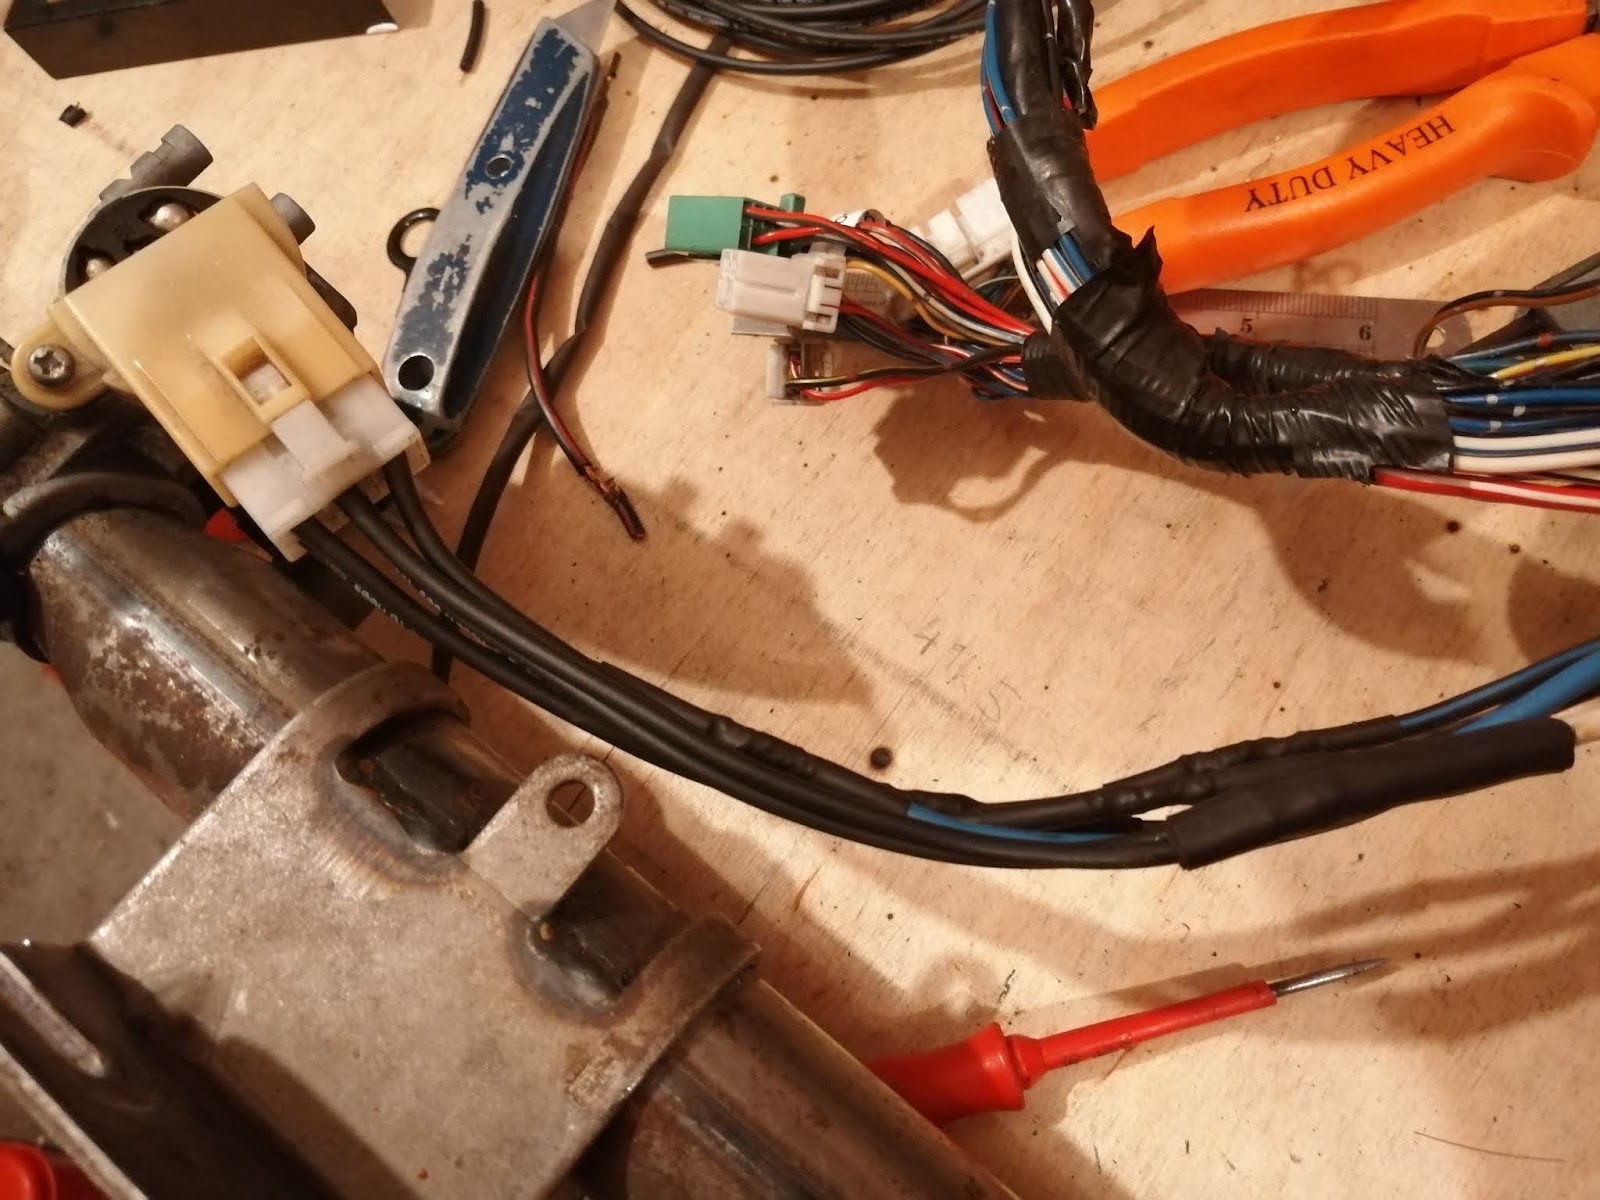
and here is the dashboard loom equivalent;


The four connectors on the right of both images are easy, they're the main one. It was the connector on the left that I wasn't sure about, especially as the way it's wired means that it would end up on the far side of the car. 

Let's see what the locostbuilders guys think... once it's back up and running...

Oh, I guess this might be time to give a bit of a view on forums for builders. There are two main options. The first is the Haynes forum itself, http://forums.haynes.co.uk/index.php. This contains a huge amount of information, but as far as I can tell they've been wanting to get rid of it as dead weight. They're not accepting new registrations, and it goes down regularly. Once I can get my password reset I'll be getting on there and downloading some of the build diaries.

The other option is http://www.locostbuilders.co.uk/. This is my go-to place for anything car related. A great bunch of people who know pretty much anything. It's still an active forum, but it's based on old tech and the effort to transfer it to something a bit more up to date would be immense. This also goes down occasionally (database connection error usually) but the admin is just one guy who does work hard to keep things running. It's also the only forum that I actually pay for. It's only £10 a year, but knowing what the admin does to keep it running, and the costs he must have to keep it up, I think it's a tiny amount to pay.

If there are any new builders out there who just happen to find this blog, please join locost builders and help with a contribution to the site. The amount of information you'll get from there is worth far more than £10.


Loom cleanup 3

Last night saw the end of the horrible ignition wires. This is what I had originally;


Such a mess, not one cable was left untouched. They were either cut, spliced, joined to others, or in the case of the pair of yellow wires, left to go off to another device. I didn't want any of that, but I couldn't just cut the connector short. wires at the bottom of the picture go off to the steering column plugs, so the distance between the ignition barrel and the steering column is fixed. I had to rebuild the wires, so I bought some spare wire and some new spade terminals.

The spade terminals were quite simple to work with, but I'm glad I had the right tool. Basically the connector was lightly clamped on to the cable;


Just to hold it in place, then it was clamped properly;


Note the two connector clamps, one to clamp the wires and one to clamp the sleeve. Just for good measure I then tinned the wires with solder to make a good contact. I also needed to flare the back of the curled over section. The latch mechanism in the connector block was for slightly larger terminals so it wasn't working properly for this sized connector. It didn't take much tweaking to get it working though.

The offending wires were cut off, leaving different length wires. This was a good thing, because it meant that the joints weren't all in the same place. This cuts down on bulk as well as potential breaks in the insulation causing short circuits.

Once the new wire was spliced on (linesman splices, nice and secure) they were soldered together then heat shrink sleeving applied. The end result looked like this;


So much better and safer. A quick trial on the ignition barrel;


and everything looks good. The fit was incredibly tight, so much so that a couple of the terminals were pushed out the block. I opened them up a little to make it a bit easier, put them back in the block and they worked fine. Still very tight, but at least they went on to the connectors now.

Friday 24 July 2020

Loom cleanup 2


Second one done, this is the rear loom. The main parts out of this was related to the rear windscreen, big power cables for the heated screen. It's so long though, I appreciate it needs to get to the rear of the car, across and then back in again, but it is so long!

This is what came out. It did tidy up after this though, a few coils of decent wire that I can reuse elsewhere.

The crimping tool has arrived, and it seems to provide a decently strong connection. Time to rebuild the ignition cable next. I don't know whether to redo the main loom though, there's quite a lot of it and I'm not sure what needs to be removed. It also runs the ECU, engine sensors, all that important stuff. I'll check the connectors to see how many wires can come out.

Thursday 23 July 2020

Loom cleanup

Well, this is where I started;

And this wasn't even the full loom, I'd missed a section at this point!!

First job was to understand my random labelling. It was handwritten on masking tape, and some of it was readable but the majority wasn't. I pinched my wife's label maker and replaced all the labels. At this point I also realised that I'd not labelled everything...

It turns out a lot of the ones I'd not labelled are actually not used. Going back through this blog I was able to see the ones I'd left out, figure out what they did and then mark them appropriately.

Once they were all marked up, it was time to strip out the unwanted parts. First, the instrument loom. The main thing here was the heater and window controls and the power associated with both. The process was to basically start at one end, and work it through by removing the old tape, removing the unwanted wires, then binding up the remaining wires. It worked mostly well, there were a couple of tight spots on the wires that may have been a mistake but overall it's made a decent job;


This has left me with the switch gear (bottom and bottom right) the head unit wires (centre), the instrument cluster (at the top), then on the right there is a ground wire and the handbrake switch coiled up, then the four connectors off to the main loom.

I've tried to keep the removed wires intact, even to the point where I've removed terminals from the plugs. I've had to cut a few wires though, particularly the power and ground leads where they join together. Cut, insulation tape then loom tape, hopefully that should keep things sealed up.

So next is to repeat the process with the rear loom. Oh, and this atrocity;


This is what is left of the ignition barrel wiring after the butchery of 'alarm installation'. There isn't a single wire that hasn't been attacked in some form. And it's all big thick cable. My job will be to cut the whole lot out and replace all the wires. I've bought some 30 amp cable and some 6.3mm spade connectors. Luckily the connector itself is basically a cage for standard female spade connectors, so as long as I can replace the wiring and reterminate the new leads then I can rebuild the connector. That's the plan at least, but it can't go anywhere until I get a crimping tool as I don't appear to have one! That's on order from Ebay, should arrive next week. But I have lots to keep me entertained before then.

Saturday 11 July 2020

To-do list July 2020.

OK, I have the 'build your own sports car on a budget' book, and it's time to go through and see what's left...

  • Finish off BR10 cut. It's just a raw end from where I had to cut it off to fit the engine, I need to smooth and cap it.
  • Other weld finishing. Just a quick sanity check once the chassis is open. 
  • Handbrake mount. I still want to put it under the steering wheel, I like the idea of it being hidden but I've no idea how to do it!
  • Gas pedal mounting and linkage.
  • Clutch and brake pedal limit stops.
  • Seat belt reel mounting. I figured they should be mounted in the inside but they still need to meet all three points without touching the car seat.
  • Radiator mount. I don't actually have a radiator yet so that might be a delayed job.
  • Roll cage. Still not sure what I'm doing here.
  • Exhaust. This will be after the bodywork fitting.
  • Oh yeah, bodywork fitting. This needs to include;
    • Outriggers on the chassis. 
    • Mount points on the chassis.
    • Hinges for the front section.
    • Trimming the panels to suit.
    • Painting the chassis once completed.
  • Propshaft resize. I think it needs shortening, but I can't measure it without the diff and engine being in place.
  • Fuel tank mounting brackets and straps. 
  • Fuel lines.
  • Scuttle panel. 
  • Windscreen (maybe? Not yet though).
  • Brake pipes (solid and flexi).
  • Wiring loom. OK, I've put it off for so long, but I think that is the next big job.
  • Dashboard and battery mount. 
  • Drive it away.
OK, so the construction is very nearly done. I think it's time to look at the wiring loom...

Rear mount done... and tabs

The rear mount is finished, a simple plate to bolt the bush to the gearbox and then a platform to bolt it to the car;


As with most things on this car it's probably overkill, but at least the engine ain't gonna fall out!!

While I was there I also noticed that I'd not welded the two front brake pipe fixings on;


So that's that. The engine will now go in the car. Next job, a to-do list to figure out what the next job is.

Saturday 4 July 2020

Rear engine mount 2

This will be the engine mount as it has been mocked up in Fusion;


The blue section is the new plate that will be welded into the chassis (3mm plate), then the bush will sit on top, then the upper plate (5mm) will be bolted in place.

Unfortunately the drawing shows the issue here. With just blank plates the is a gap that needs to be covered. Normally I'd just add a spacer, but the bush needs the flat surface to sit on, as well as space for the nuts to go on the fixings top and bottom. If I change the angle and highlight the thread, it becomes clear what is happening;


Regardless of the height of the bush, there won't be enough exposed thread top and/or bottom. 

Now I don't want to do any welding on the top plate, if I can keep that as solid 5mm there won't be any leverage imposed on weld joints etc. So drawing that out and cutting it as required is the first job. I think what I'll then do is build up the platform from the chassis, such that the bush still has a flat surface to work on. That gap is 15mm, so I need to make that up.

Time to get cutting and welding...