So now to move on to the other aluminium panels. This will be;
1. Seat back panel.
2. Transmission tunnel sides.
3. Car sides.
4. Transmission tunnel top.
As I've mentioned before, the use of a full body allows me to change the design of the interior panels to cover more of the chassis than would normally be done with a seven. This also means I've split the side panels so the front half gives slightly more foot room, and the rear half can be made out of aluminium without using much material.
Anyhow, this is how I'm going to do things;
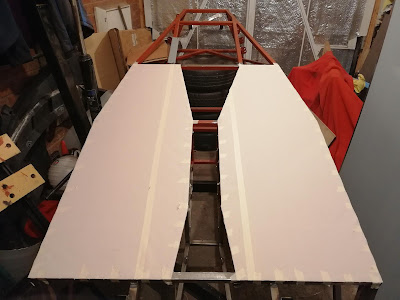
Transmission tunnel sides. These will go from the back edge of U7 and U8, to the front edge of TT6. Top and bottom will be from the floor to the top edge.
Back panel. This will go from the top of SB2 to the bottom of BR12. The middle section will come down to the bottom of SB3. For the sides, they will extend across both SB1 tubes. And finally a pair of tabs for the transmission tunnel will make a rivet surface against U7 and U8, on top of the side panels.
Car side panels. Top and bottom to match the car. Front edge up to U4 and U5. Rear edge will need a tab to cover one half of SB1. Not sure yet whether it'll be an inside or outside tab, outside will be harder to do but inside would be visible,
Transmission top. This is done in three parts. SB3 to TT8 will be riveted. TT8 to TT5 will need to be rivnuts as the panel will need to be removable. Although as I'm typing, I've realise I need to test the engine mount first to know where the gear shift will end up!! The last panel is TT5 to TR8 or TR9, again dependent on where the gear shift is.
That's it for now I think, the car is on it's side and I'll be making up some paper templates to figure out the best way to cut those panels. More photo's as the panels get chopped up.
Thursday 25 April 2019
Floor... finished
One box of these later;

And a whole load of hole drilling got me here;

Then a load of cutting and finishing to get the edges matched to the chassis (picture missing because, well, I moved on to the next bit without taking a photo!).
So the floor is done, time for the next panels...

And a whole load of hole drilling got me here;

Then a load of cutting and finishing to get the edges matched to the chassis (picture missing because, well, I moved on to the next bit without taking a photo!).
So the floor is done, time for the next panels...
Sunday 21 April 2019
Floor... started
Time to start with my first build job... OK, I've been at it quite a while and done a fair bit to get to this point, but as I was preparing for the build I saw a common theme. The first picture in most people's build logs was the floor being held in place by rivets. So this is my version!
Of course, this isn't the first step of this particular stage. First off was cleaning up the welds on the floor so I had a flat surface;


Of course, this isn't the first step of this particular stage. First off was cleaning up the welds on the floor so I had a flat surface;
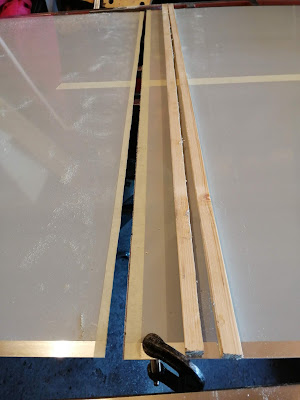
Then a paper template made for the two sides;

A quick transfer to the aluminium to cut to size;

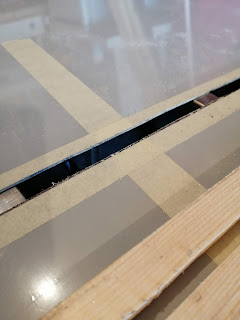
The cuts were done using an aluminium blade on a jigsaw, with the wood mounted on top to keep the edges from buckling (I needed both edges to stay usable). It did a great job to keep everything flat;

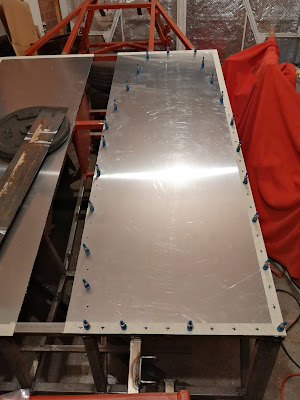
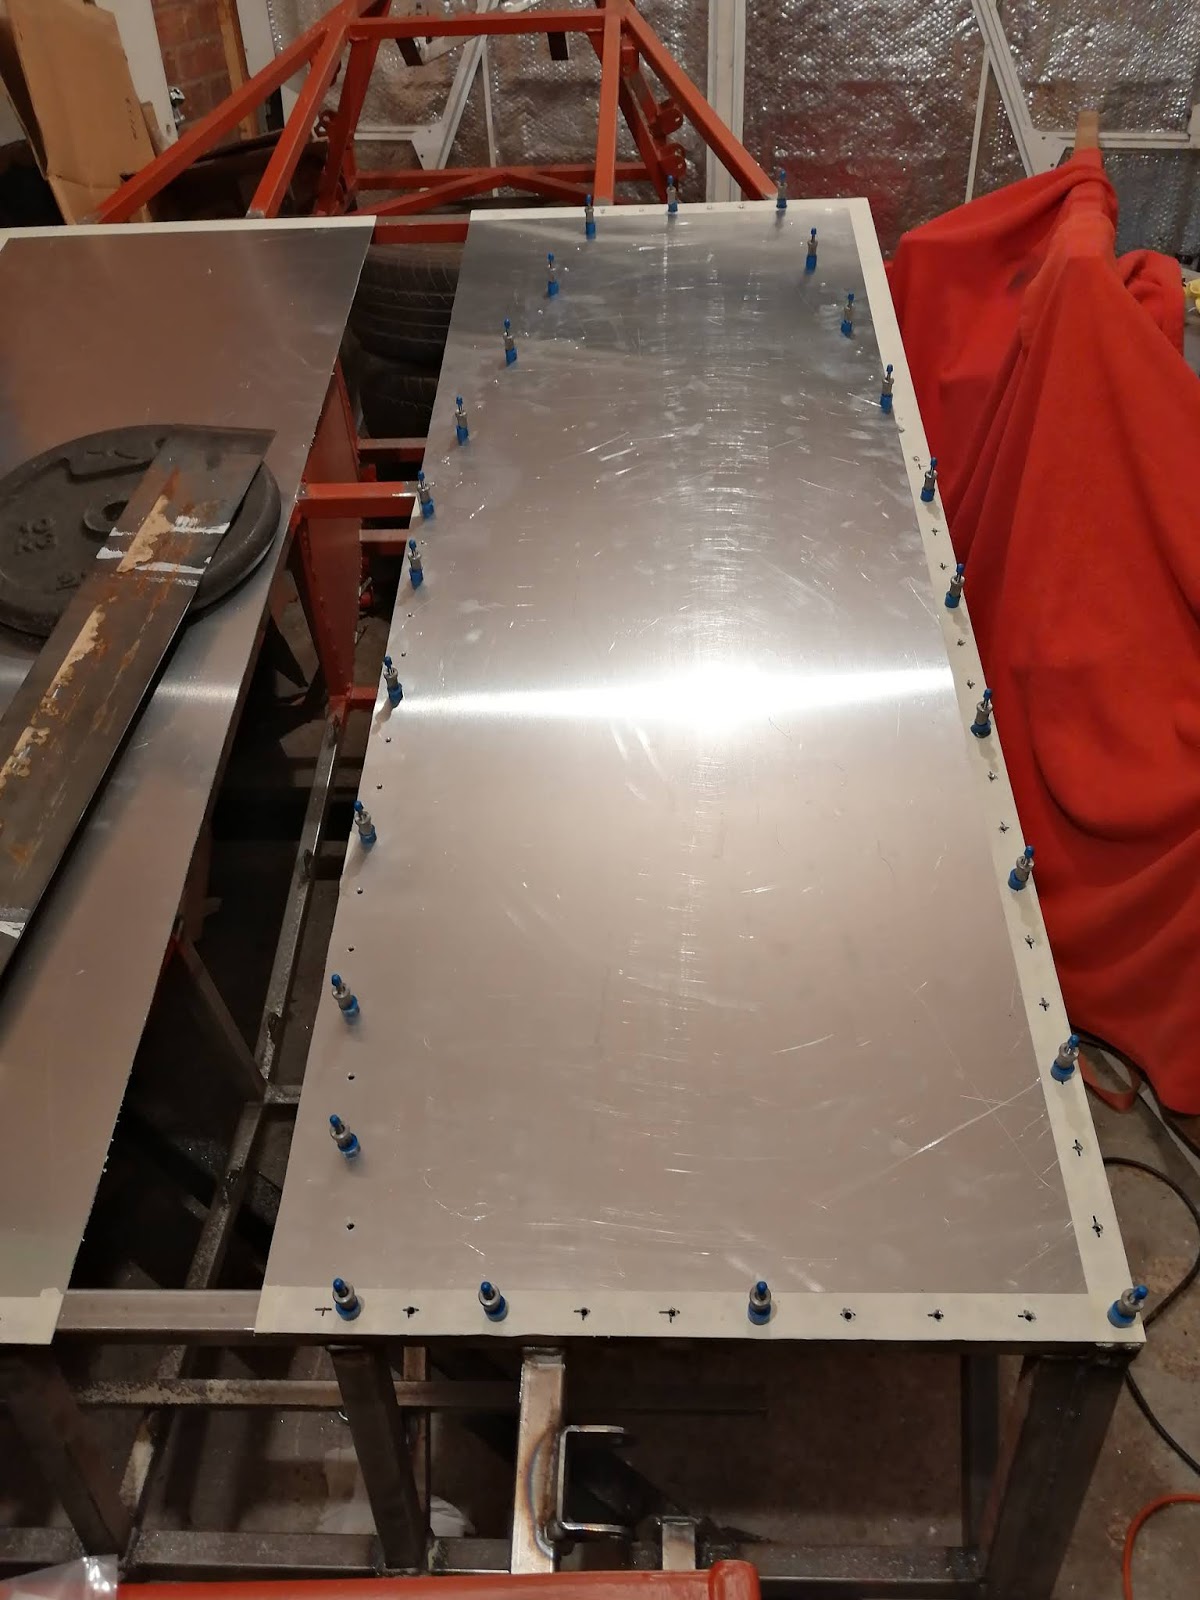
Then the panels were laid in place;

And the first few holes drilled;
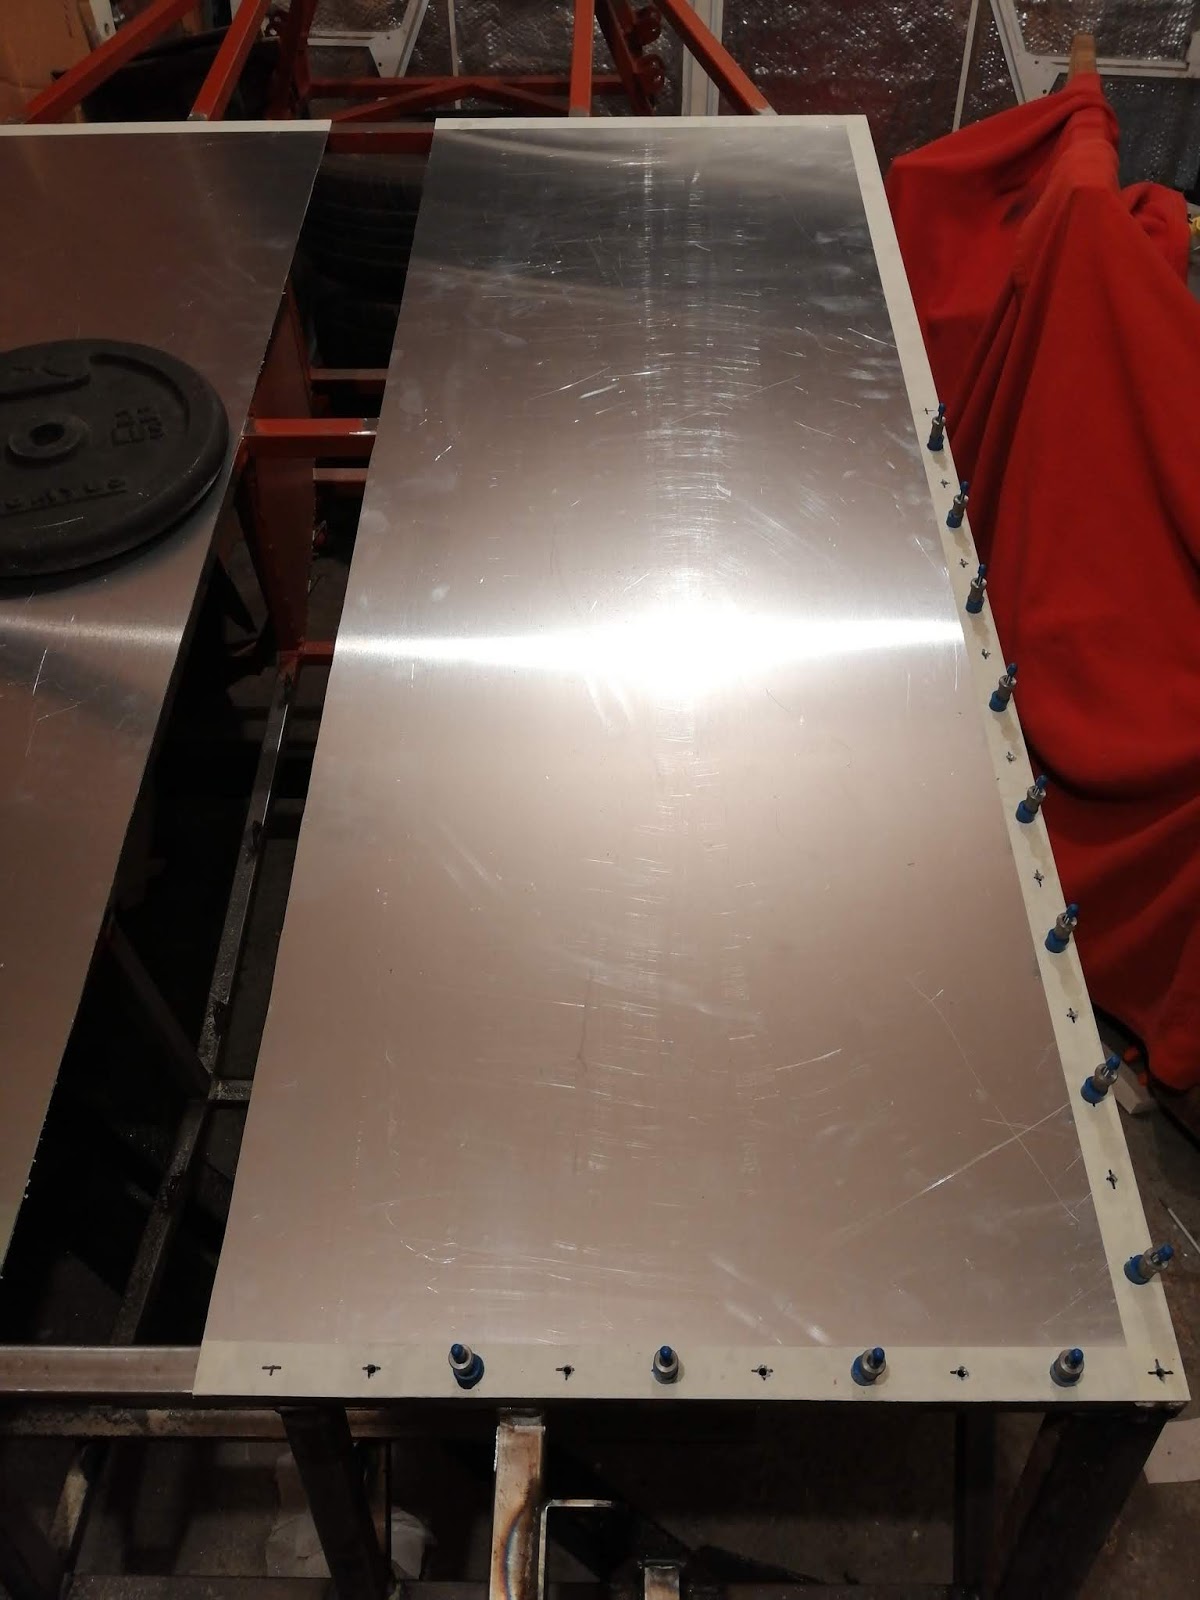
After a bit of geometry to get the position of the other rails, the rest of the holes were drilled to bring us back to the first picture;

(And yes, I don't have enough Cleko's).
So that's the passenger side done, and this was the end of the night. Turns out drilling more than one hundred holes is really hard work, my back and shoulders were screaming. And I've not even got to the point where I'm applying rivets!!
Oh, and on the subject of rivets, I didn't buy anywhere near enough. I bought 100, thinking that it would be distributed between the panels. Thinking about it now, I have two floor panels, one back panel and four side panels to rivet. Even getting every rivet right first time, that would leave me with about 14 rivets per panel!! Considering I did A level maths, this didn't quite register in my brain.
So I've gone and bought another 500 rivets. Even with that I'll use up to 400 just for the floor and side panels, that doesn't leave many for the back panel.
And I'm not looking forward to doing each rivet. As an experiment I did one to a point where the pin sheared, I can still feel the bruises on my palms. I'll be putting some extender bars on to the handles I think.
Anyhow, that's the passenger side drilled. It needs to be cut, then it'll be on to the drivers side. I'm not going to put them in place until I've done all the panels, as it's quite useful to have an open chassis.
I'm also hoping for one day this week to get the chassis out on to the drive and put the engine in place so I can weld up the engine mounts. That is determined by the weather though.
Fuel tank part 3


As they say, paint covers a multitude of sins. But it's air tight which was the main thing I was after. The red is just the standard zinc oxide, I think I'll do a black top coat as I'm not planning on it being visible. You can see in the top picture how much the panel warped when I was welding on the filler, I had to use Cleco's to force the metal back into shape to weld on the cap.
The bottom pic shows my swirl pot, that's about a litre of fuel with the fuel lines taken from the Mazda's filler. The only thing I'm worried about is if the welding has somehow narrowed the inside, but I won't know that until the car is running. Oh well.
Next job, floor and side panels, my first venture into aluminium.
Saturday 6 April 2019
Fuel tank part 2
Well, that took a long time!! Five months apparently since I started the tank. And now it's finished.
There were a few issues. The swirl pot wasn't too bad to weld up in the end, and I reused the pipe ends from the Mazda fuel tank. That way I can attach hoses with clamps and they'll be secure. Unfortunately when it got welded on it did warp the tank itself, which meant I was then trying to weld straight ends to a wavy tank.
What I did was use cleko temporary rivets to pull the metal together before welding, it just meant that I lost four cleko's (they don't like heat apparently!). The filler end wasn't as bad, probably because I learned my lesson and braced the nearest end before welding. There was still some distortion but that could be tapped out by a hammer.
The ends went on with only a little trouble (mainly from the warping), once it's cooled down I'll start the pressure test. For this I have some pipe connectors, a bike pump and a rubber glove!! The plan is to seal all the (known!) holes, the rubber glove over the filler and the bike pump attached to a fuel pipe. I'll then inflate the glove and use soapy water to pick up leaks. Once they've been spotted and welded as required, it'll be painted and left for fitting.
I've also been fixing some cable/pipe mountings to the chassis, they'll be ready and waiting for whatever I need to send down the transmission tunnel. Oh yeah, and on that subject, the front panels have been welded in and painted. The next job will be to cut the aluminium for the floor, side panels and rear panel. I have a week off after Easter so I can drag the chassis out and cut the panels properly. I do have to fix a couple of brackets for the side panels though, the way I'm doing the panels means that they will be on the inside rather than the outside as normal. There are no flat mounting flanges to fit panels on the inside, so I need to make them.
Subscribe to:
Posts (Atom)