Thursday 29 August 2013

I think I've found it!!!

I've spent ages now, trying to figure out how to build the wishbones. And it looks like I've finally found all the necessary elements.

The top track rod end will now be from a BMW, or to be precise an E34 BMW 5 series track rod end. These have an M14 x 1.5 thread, so I'll need to get inserts to match. But at least they're not £10 each! 

Anyway, now that has been sorted, I can finish stripping the donor. I'm nearly down to removing the shell, then I can wheel the base into the garage and get my drive back!

Monday 19 August 2013

More suspension

OK, starting to get the locations together.

aksteel92 appear to be the only people who do 33.7mm x 2.6mm, 1 metre for £15.73 (including a tenner P&P!). I can get individual tubes for a pound each, but for around £2 each they get expensive quickly. And this way I can cut them to fit the crush tubes.

10gbottles do the 19mm and 25mm with a total cost of £45.16. However, if I keep all wishbones as 25mm, metals4u do 6 metres of 25mm for £35.40. A tenner cheaper to have thicker top wishbones.

Threaded inserts from Rogue Engineering, M18 x 1.5 in pairs for a tenner each. I'll need six in total, two for the front top adjusters and four for the rear lower adjusters. This will mean I move to using the transit ball joint instead of the BMW one, so I'll have to buy the reamer as well. Still better than trying to find an M14 insert! CW Fasteners appear to sell M18 rod which would suffice as adjusters for the rear (emailed to get a price).

Looks like another £100 just for wishbone metal, and I've not looked at the plate metal yet!

Tuesday 6 August 2013

Boot wiring

The boot wiring is relatively simple, everything coming from the same place (well, apart from the fog light wire!);

From the wiring loom outwards, there is;

1. A long reinforced wire for the bootlid brake light
2. Left hand light cluster connector
3. An unknown 2 wire connector
4. Left hand number plate light
5. An unknown 4 wire connector
6. A ground wire
7. Right hand number plate light
8. Right hand light cluster connector

The two other 'white bits' are the chassis fixings rather than connectors. The last black wire on the right is the fog light wire, that is wired up on it's own all the way down the right hand side of the car;


I've removed the fog light wire from the connector so I can withdraw the loom, it might go back in but the cluster fog light is not 'e' marked so I think I'll need to fit a proper fog light.

Sunday 4 August 2013

Interior strip part 1 - Wiring

Nothing challenging so far, just a few pictures of the wiring so I know where things have come from;

Drivers side wiring. Bottom left is an unknown connector, from near the seatbelt mounting. The other part of this extension is for the seat speakers, and in the bottom left is the push pin for the door (possibly only for the alarm).

Passenger side wiring. Same again, bottom right is a mysterious unconnected wire from the seatbelt fixing, then the speaker connection. The passenger side also had a separate dust covered connector, I think that is for the rear window demister for glass windows.

Centre console wiring. Not much here, a connector for the electric windows and just to the side of the gearshift is a light fitting for the ashtray. There is also a push connector for the handbrake, again probably only needed for the alarm. The middle wire still attached to the chassis looks more like a factory fit, but it's not the fog light wire as I found that on the right hand side.

On both sides of the loom, there is a connector for the seat belts. Apparently JDM cars (Japanese Domestic Market, IE Eunos!) have a 'feature'. With the ignition on, there is a solenoid that prevents the seatbelt retracting all the way in. I have to admit, that is quite possibly the dumbest 'feature' ever. A knowledgeable guy over at MX5Nutz suggested the feature could be turned off by removing a fuse. Basically I'm going to remove the wire! The wires down by the seatbelt stalk are similarly useless, so they'll be removed as well.


Looks like the entire loom comes down the drivers side into the boot, then the bits on the passenger side come out of the boot. It's raining at the moment so I didn't have chance to remove that part of the loom, but it would make sense to be the next thing to do.

Thursday 1 August 2013

I have a donor!!

Well, I've finally got myself a donor, and a rather nice one to boot. In fact, so nice there was part of me that didn't want to chop it up...


But chopping up will happen, so it's time to start a shopping list. So I will be keeping;

The engine (obviously), gearbox, propshaft, diff, driveshafts, all uprights all brakes, and wheels.
Seats (lovely aged tan leather, should look perfect).
Air vents (chrome surround, the only bit of chrome that I like the look of)
Instruments and switches
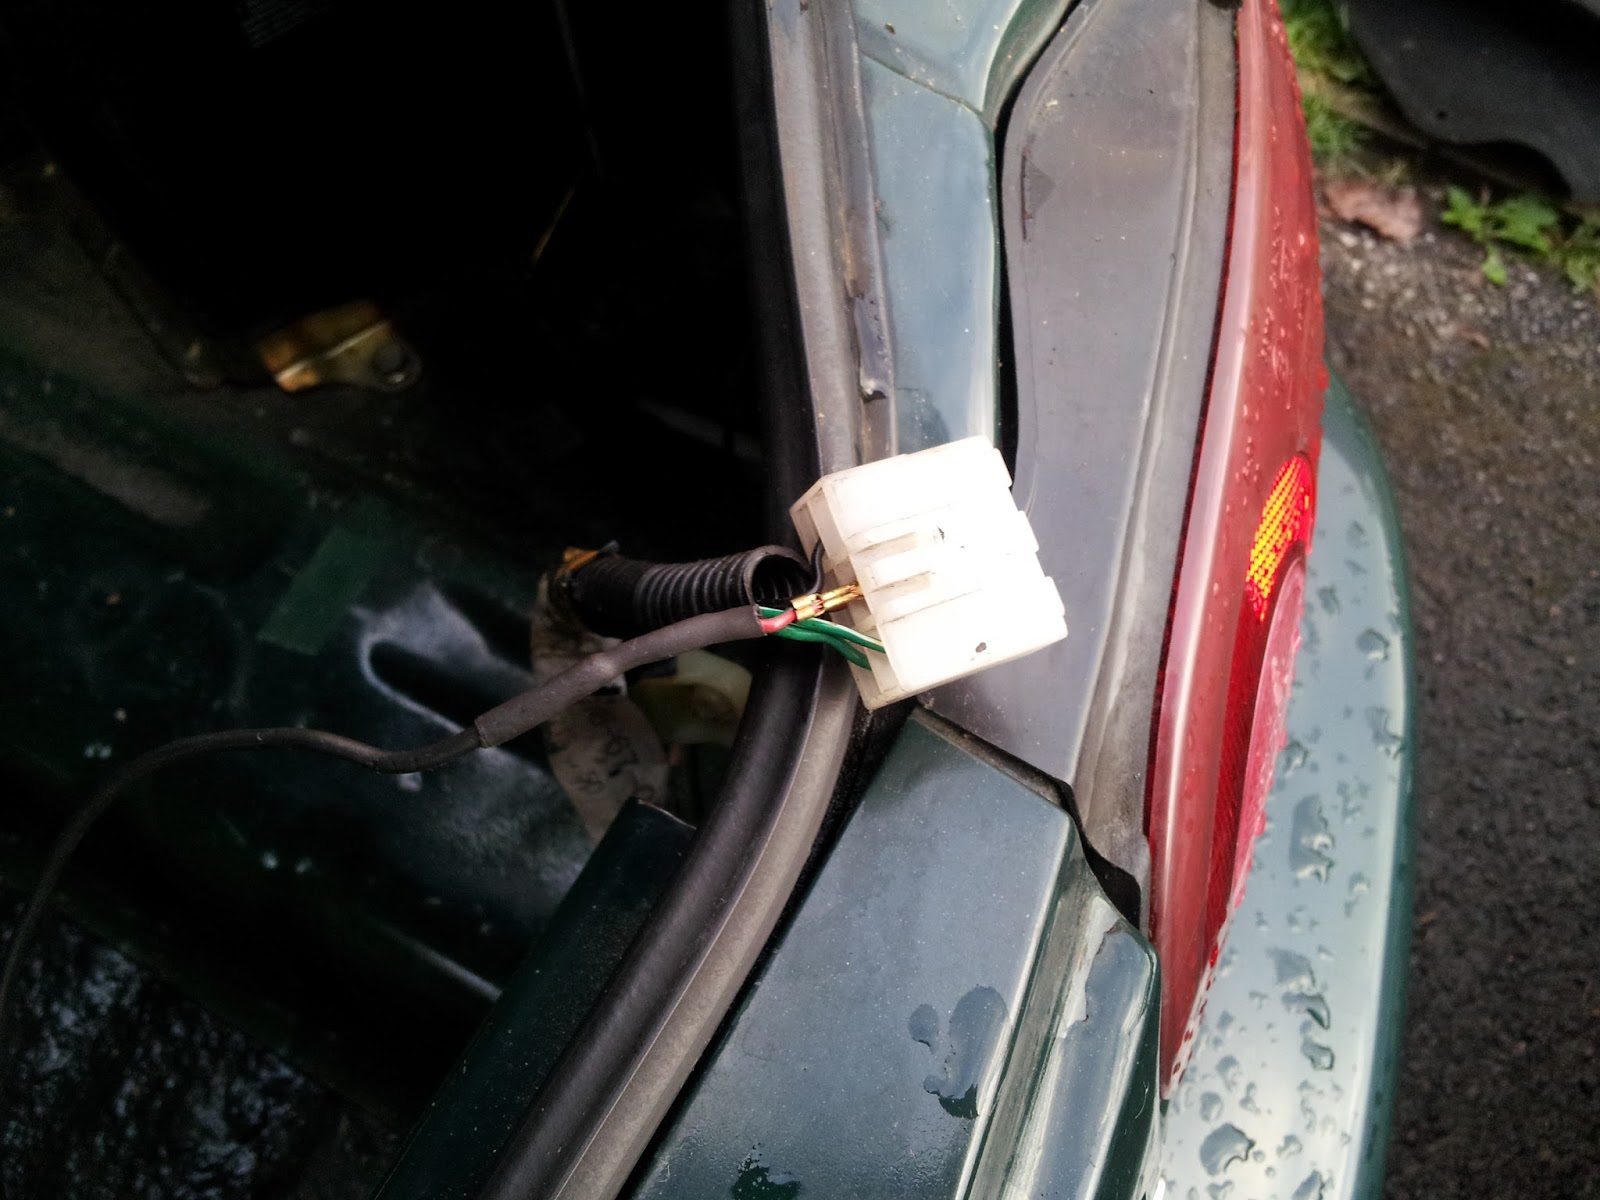
Front and rear lights
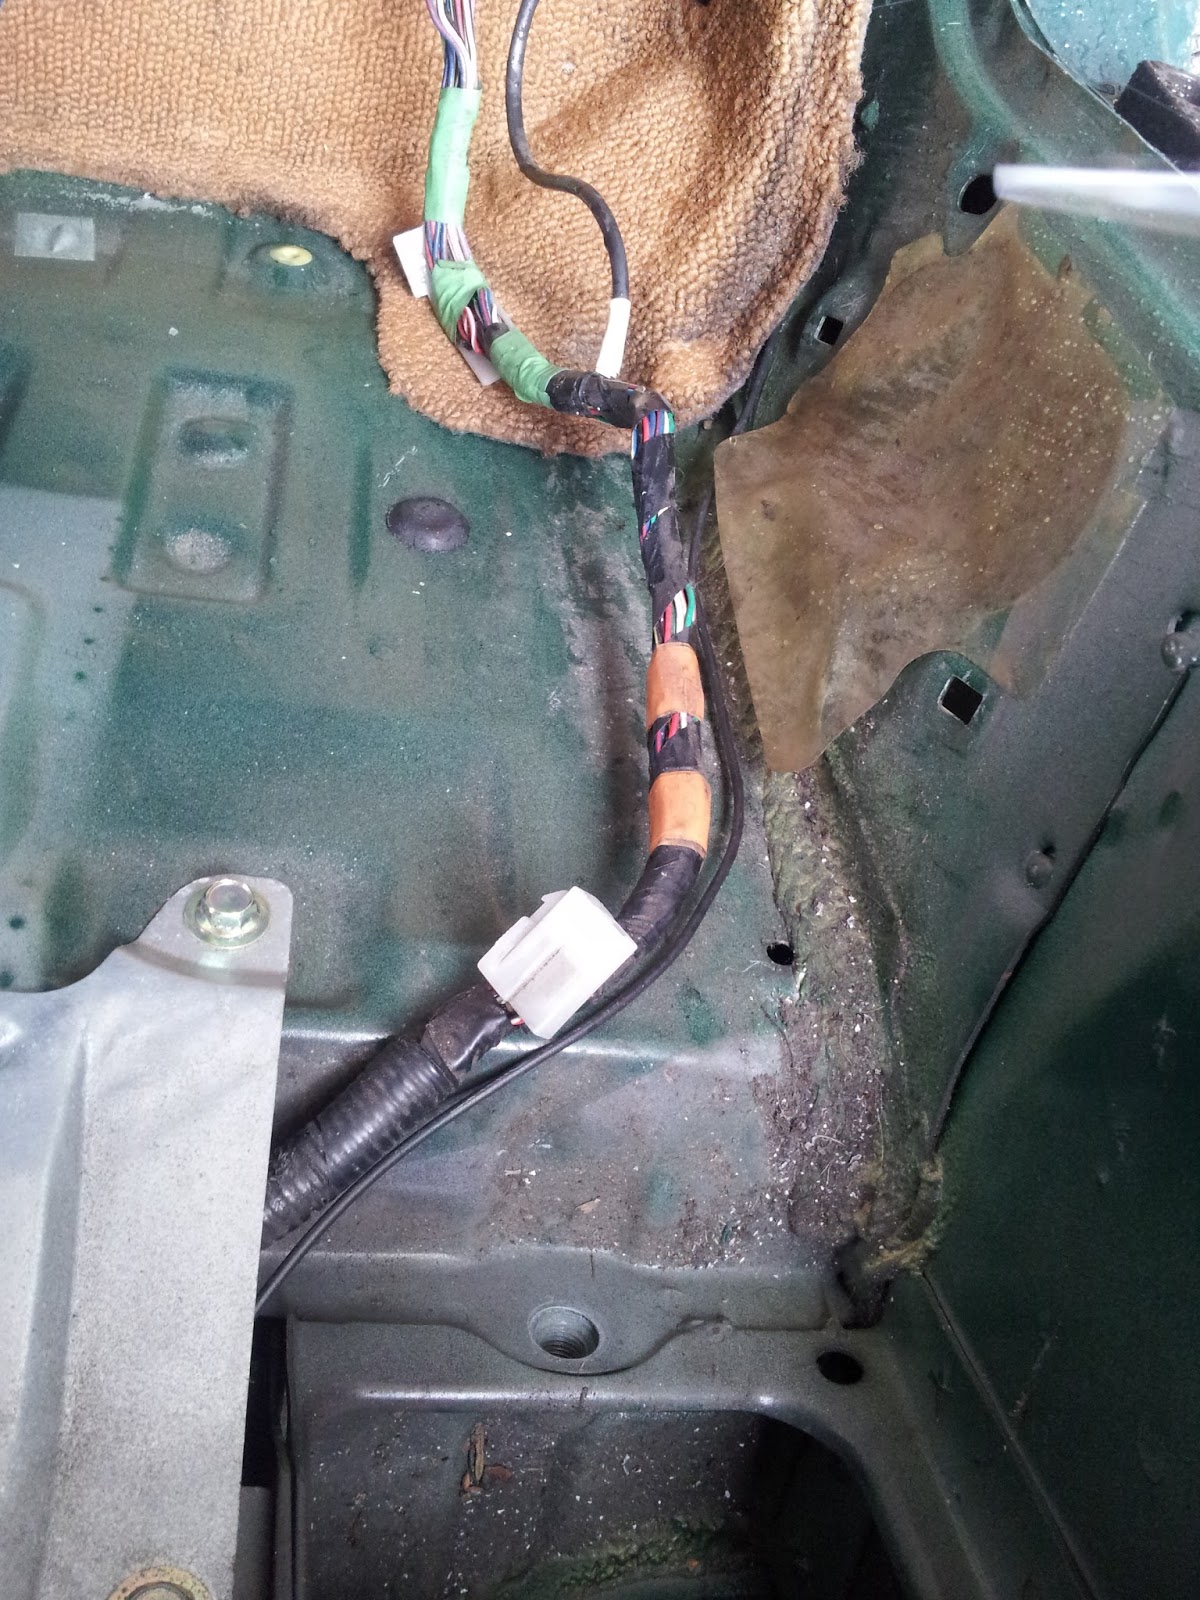
Full loom and ECU
Pedals with brake cylinder.
Handbrake

I will be selling;

Bumpers (maybe, might be difficult due to the size)
Wing mirrors (£50 average price on Ebay? They're ugly!)
sill covers (nice chrome roadster plates, should get something)
Hood (I was going to try and use it, but it just looks too wide)
Wings, doors and bonnet (again, the size may make it difficult)
Mats (they look really old, but they are v-spec marked so they might have value) Edit: On second thoughts, they won't sell, so bin unfortunately.

I will be binning;
The alarm (blasted thing is a right royal pain in the a$$, and I have a feeling it's going to have damaged the loom unfortunately)
The main body
Boot lid
Carpet (I did think it might sell, but doesn't look like it)

I'll strip the interior first, then work outwards. With any luck I won't have half a car sat on the drive for too long!

I did do a bit of Ebay shopping for things like door cards and stuff, looks like they're a no go on selling so at the very best I'll have to sell the doors as complete and collection only.